Reply to your first customer ticket
Open a conversation, send a reply, add a private note, and choose the right ticket status.
On this page
Watch: Handle your first ticket
24 seconds · Captioned workflow illustration, not a screen recording. No audio.
View the annotated workflow diagram
Read the video transcript
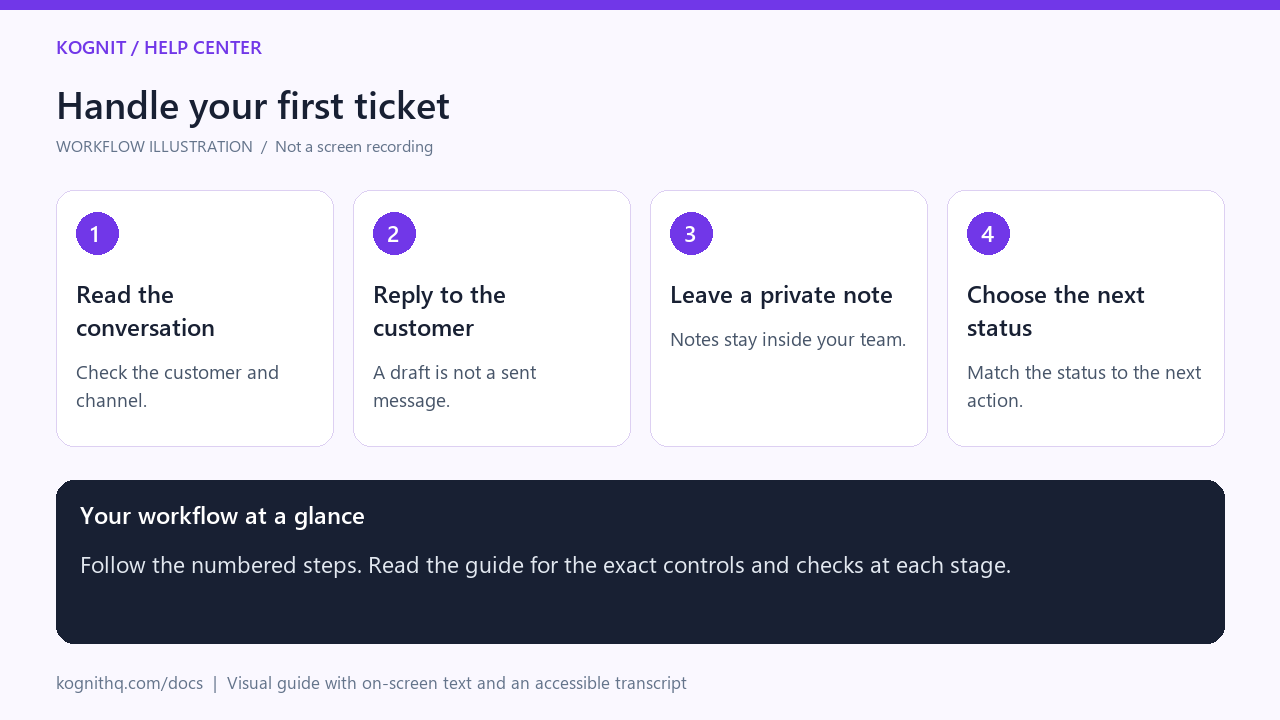
- Read the conversation. Open Inbox, select the customer ticket, and read the thread before replying.
- Reply to the customer. Choose Reply, review your message, then use Send Reply. Confirm it appears in the thread.
- Leave a private note. Choose Note for team-only context, then Add Note. Switch back to Reply for the customer.
- Choose the next status. Keep work Open, use Pending while waiting, and mark Resolved when the request is handled.
Use this guide after connecting a channel. You do not need to reconnect a working channel to start using your inbox.
Before you start
You need access to your workspace's Inbox and a conversation you are allowed to reply to. For a first test, send a message from a customer account you control to your connected support channel.
If the test message does not appear, check Connection health. For email, use Inbound email isn't arriving.
1. Open and read the conversation
- Open Inbox in your workspace.
- Select the customer's ticket from the queue. Check the channel and customer name before replying.
- Read the conversation history so you do not repeat a reply already sent by a teammate or AI.
- Review the customer panel when you need contact information or connected store information. Use only order details available for that customer.
For a tour of the panels, see How the inbox works.
2. Send a customer reply
- Choose Reply in the composer, rather than Note.
- Write your answer. If you use a saved response or AI suggestion, check the wording, policy, and customer details before sending.
- Check the send action shown on the button. The menu beside it can also change the ticket status.
- Choose Send Reply to send the message without intentionally closing the conversation.
- Check the conversation for the sent message. In a test, also check the receiving account to confirm delivery.
If sending fails, keep the ticket open and check the error before retrying. Do not assume that text in the composer has been delivered. Replies to no-reply senders are disabled; you can still leave an internal note.
3. Leave a private note
- Switch the composer to Note.
- Add the context your team needs, such as what you checked or which question needs a specialist.
- Choose Add Note.
Internal notes are for your team. Switch back to Reply before writing a message intended for the customer.
4. Choose the next status
- Open: your team still has work to do.
- Pending: you are waiting for information before continuing. The send menu includes Submit as Pending.
- Resolved: the request has been handled. Resolve only after checking that your answer or action addresses the customer's request.
For status transitions, see Ticket lifecycle. If another teammate should handle the request, follow Assignment and routing.
Check your result
Before leaving the ticket, confirm that the reply appears in the thread, the status reflects the next action, and the responsible teammate has enough context. For a test conversation, confirm receipt at the other end of the channel.
If something is missing
- No ticket arrived: check the relevant channel under Connection health.
- You cannot access or change the ticket: ask your workspace administrator to review Roles and permissions.
- Email reaches spam: follow Replies going to spam.
- You need help from Kognit: Contact support with the channel, ticket reference, and exact error. Never include passwords or API keys.
Related